LED headlights are gaining popularity for their superior brightness and energy efficiency. While installation may seem complex, it’s actually a simple process. This guide will walk you through installing LEZEN 110W LED headlight bulbs for a smooth, professional setup.
Tip: If you’re unfamiliar with your vehicle’s electrical system, consult a professional for a safe and optimal installation.
LED Headlight Bulb Installation Guide
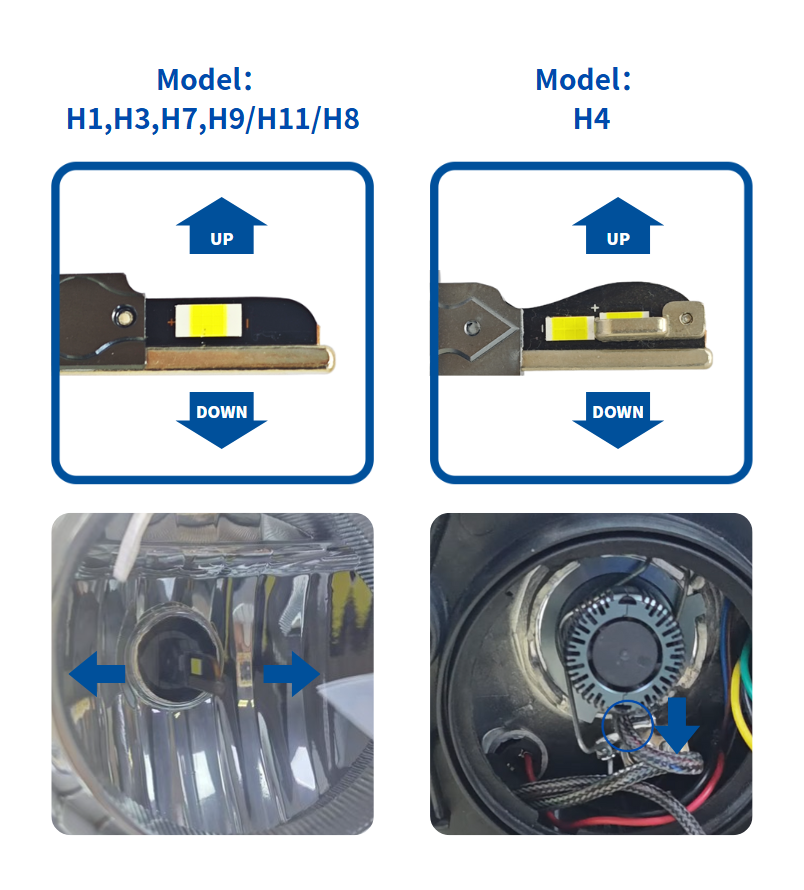
After installation, the LED chips should face the 9 o’clock and 3 o’clock positions, with the power cable connection interface positioned at the bottom.
Tools You’ll Need
Before starting the installation, gather the following essential tools:
Gloves – Protect your hands from heat and potential injuries.
Flathead Screwdriver – Helps with removing clips or securing components.
Pliers – Useful for disconnecting wires and securing connections.
For a safe and hassle-free installation, wearing gloves is recommended to prevent burns and keep the LED bulb clean for optimal performance.
For H1, H3, H4, H7, H13, 9004, 9007 Bulb Size

For H8,H9,H11,9005,9006,9012 Bulb Size

Start by disconnecting the car, then open the hood and locate the existing headlight bulb, usually located behind the headlight assembly.
Next, gently rotate the old bulb counterclockwise to remove it from its socket. Avoid using too much force to prevent damage. If the bulb is stuck, you can use a one-piece screwdriver to loosen it slightly to release the clamping mechanism.
Then, insert the new LED headlight bulb into the socket and turn it clockwise until the bulb is secure. Avoid touching the LED chip directly as this may damage the bulb.
Once the bulb is installed, connect the power supply.
Before closing the hood, turn on the headlights and test the high and low beams. Make sure the light is evenly distributed with no glare or dark areas. If necessary, adjust the bulb angle so that one LED chip faces the 9 o’clock position and the other faces the 3 o’clock position, with the power cord pointing downward for optimal illumination. Installation is complete when the light is bright, clear and properly aligned.
By following the above steps, you should be able to successfully install the Lezen 110W LED bulb. We encourage every user to remain patient during the process and strictly adhere to safety guidelines. If you have any questions or suggestions, please feel free to leave a comment below the article so that we can share experiences and improve together.
Buy the LEZEN 110W LED Headlight Bulbs
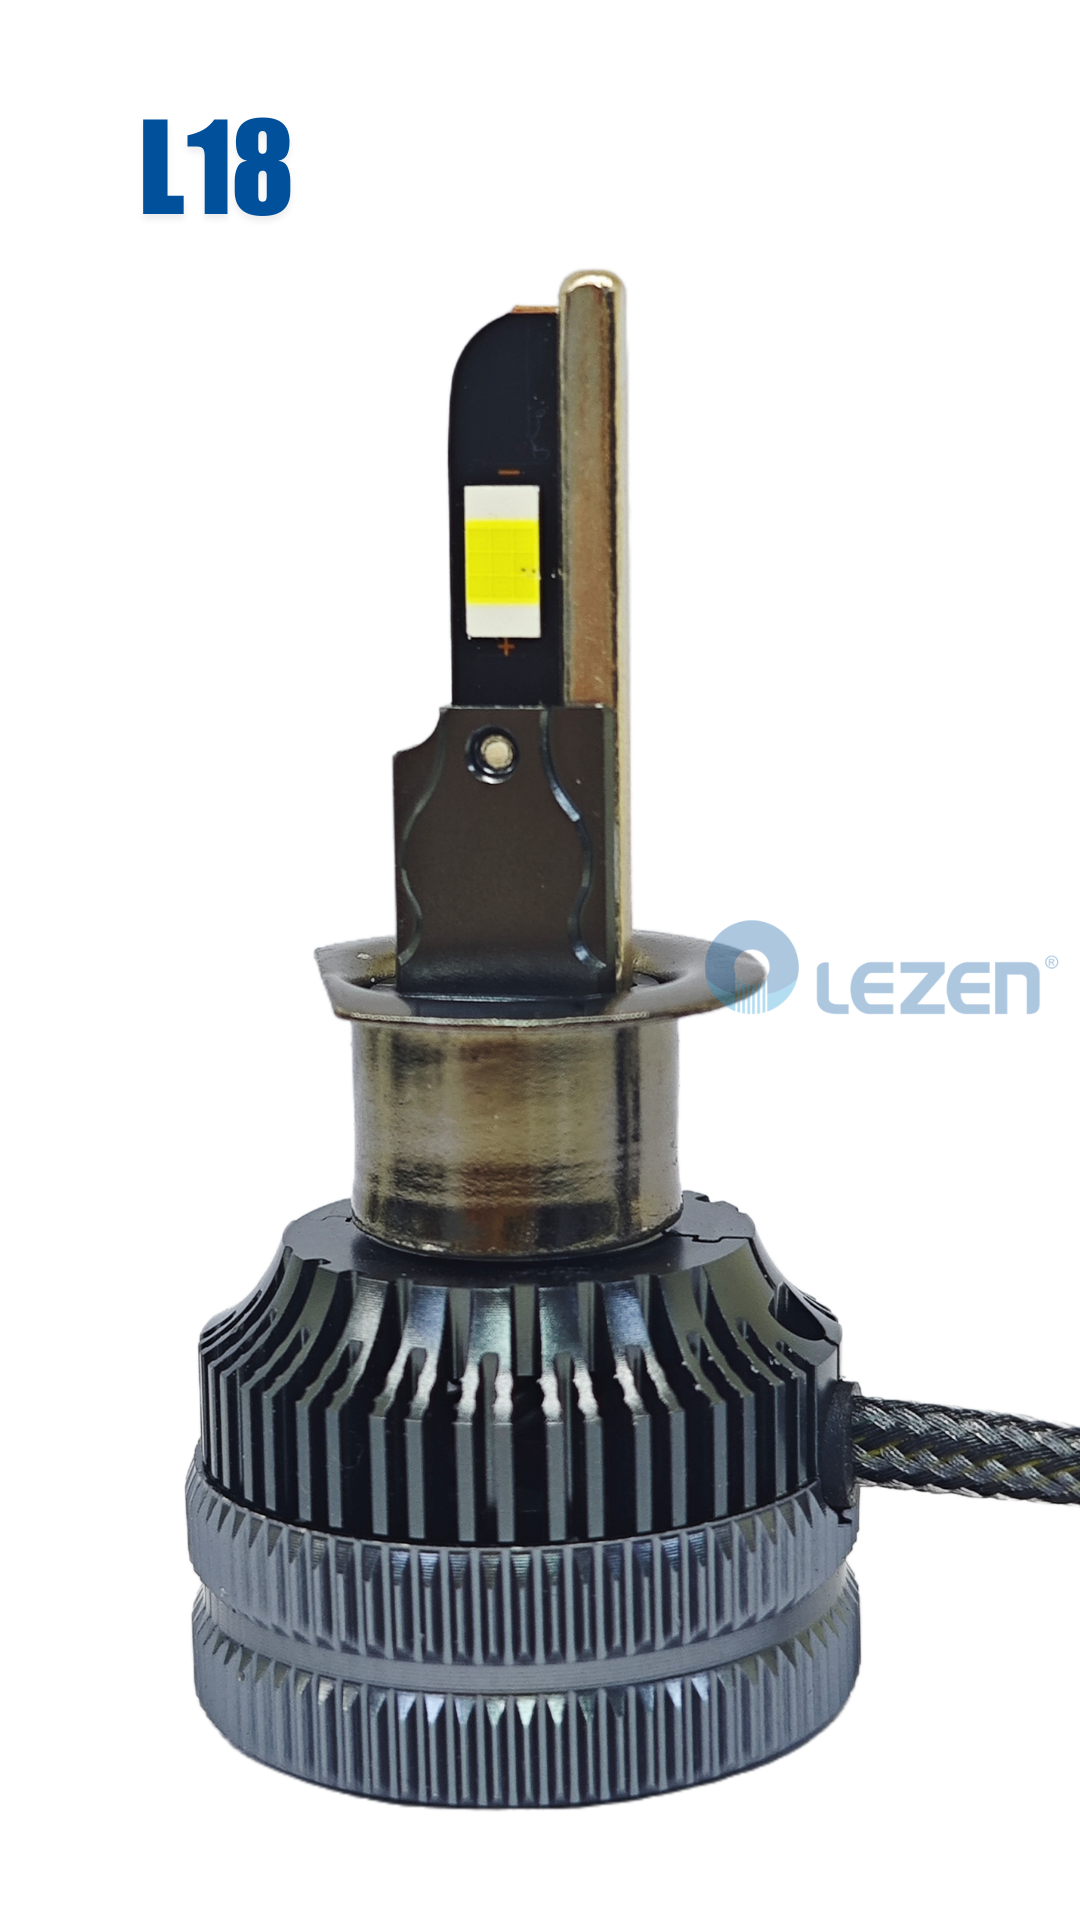
L18 series LED headlight bulbs
110W Power
5800-6000K color temperature
CSP chip
Single Copper Pipe Cooling
12000 RPM fan cooling
Lightweight and easy to install
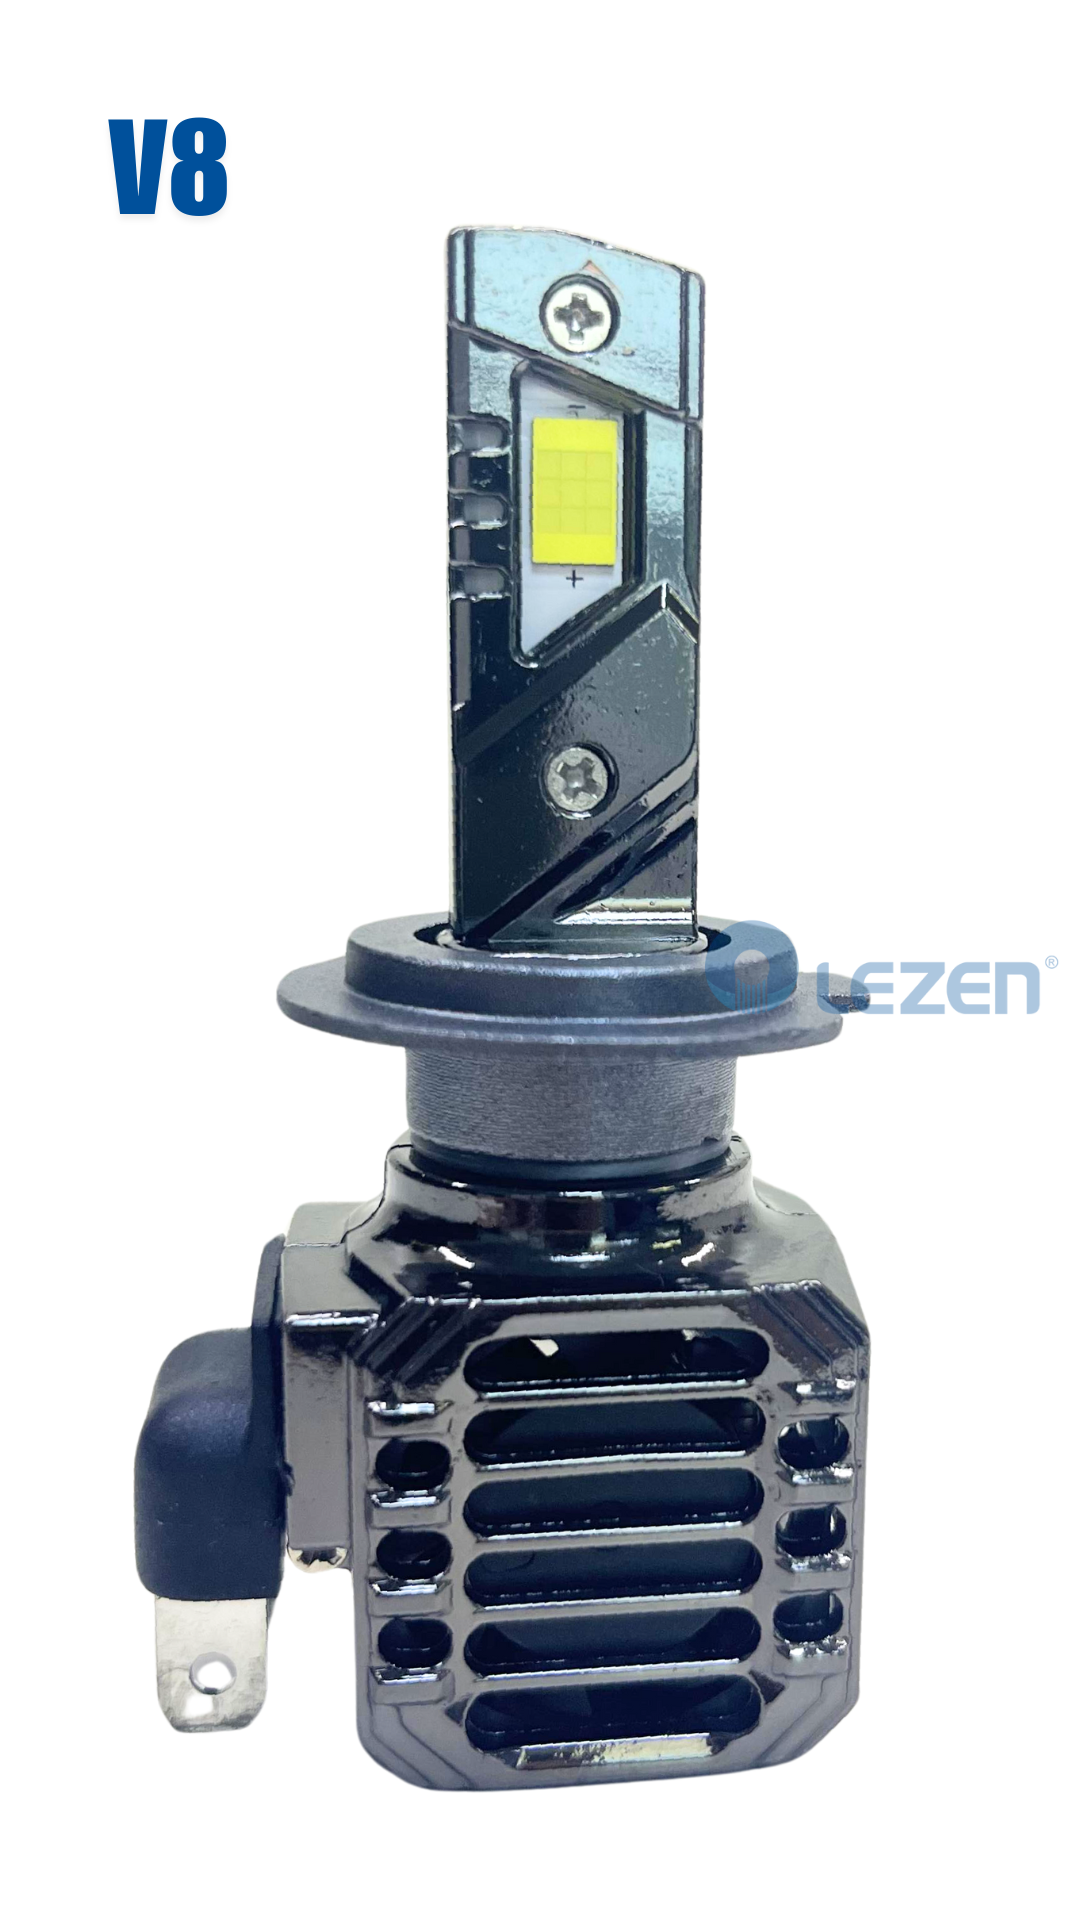
V8 series LED headlight bulbs
110W power
5800-6000K color temperature
Triple cooling system
Built-in decoding function
Direct plug-in design, no extra power cord
Frequently Asked Questions
What should I do if the bulb gets stuck during installation?
It is recommended to check whether the connection between the bulb and the socket is correct and ensure that no foreign objects are interfering.
What if the bulb exhibits abnormal brightness after installation?
Please verify that the voltage is stable and the bulb is intact. If the problem persists, contact technical support.

