Our motorcycle fog lights feature a high-brightness wide beam that effectively penetrates fog, rain, and low-light environments to ensure riding safety. Contact us now to get wholesale discounts and seize market opportunities together!
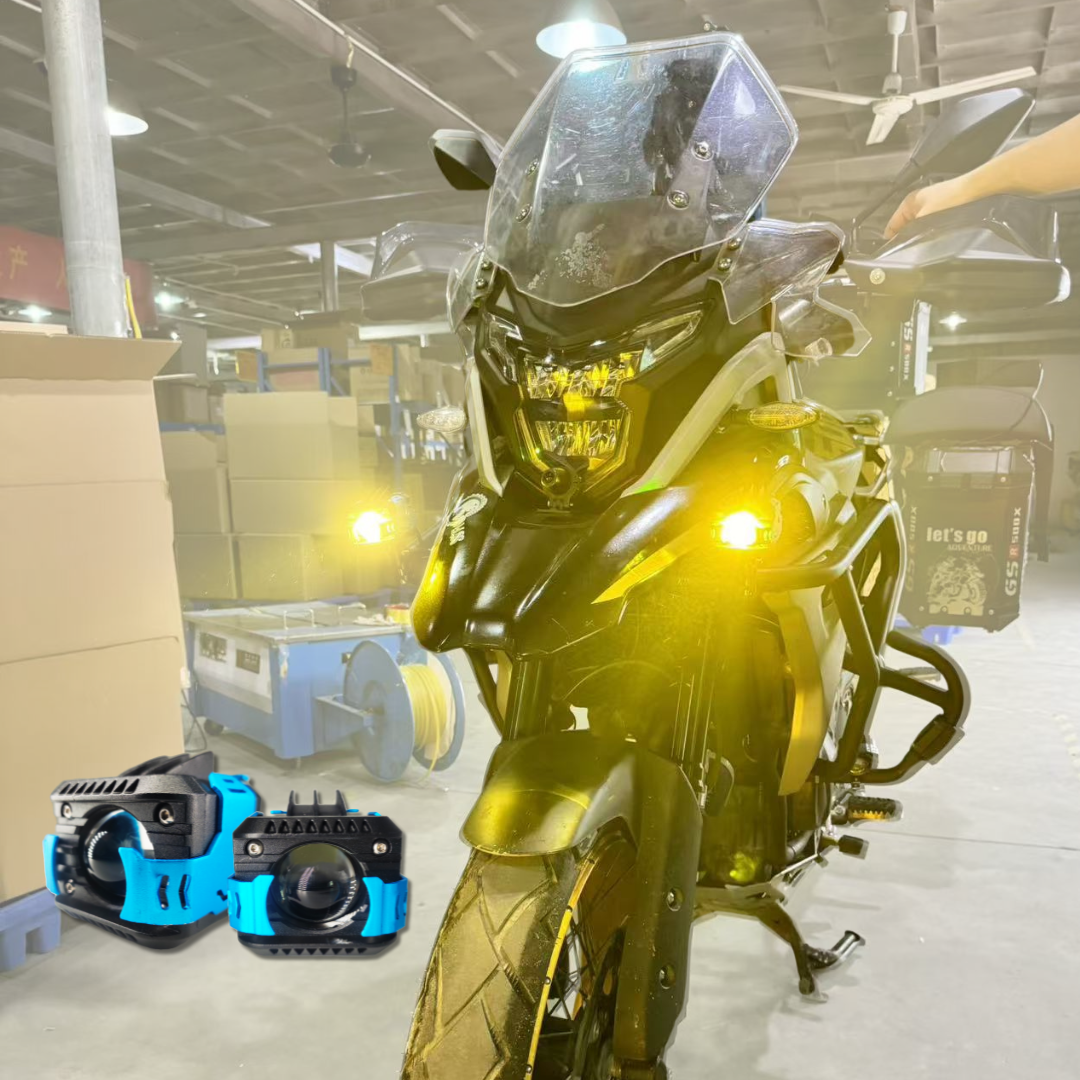
our products
Comprehensive Manufacturing and Machining Capabilities To Meet All Your Unique Needs

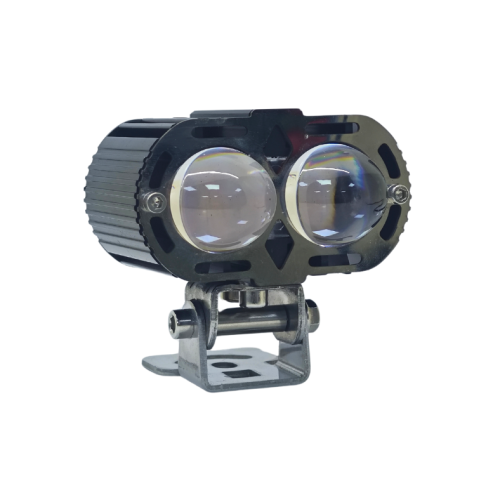
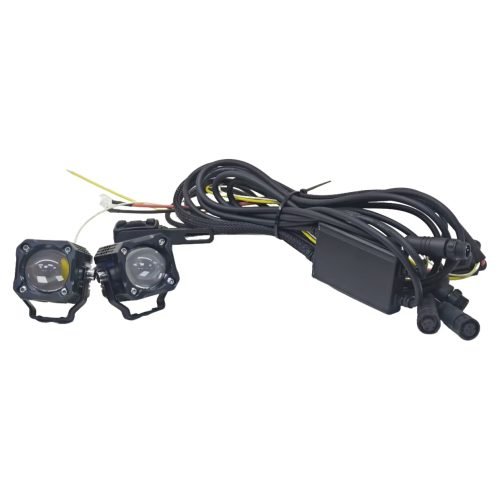
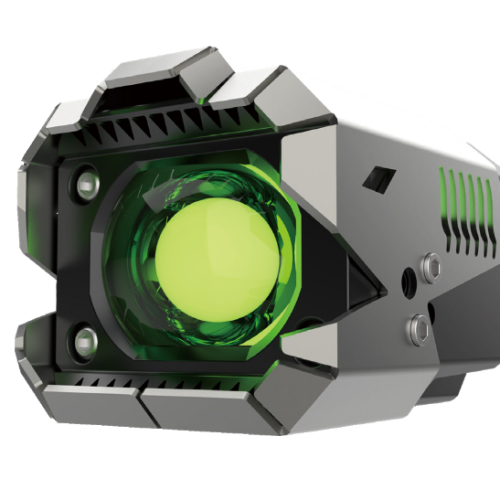
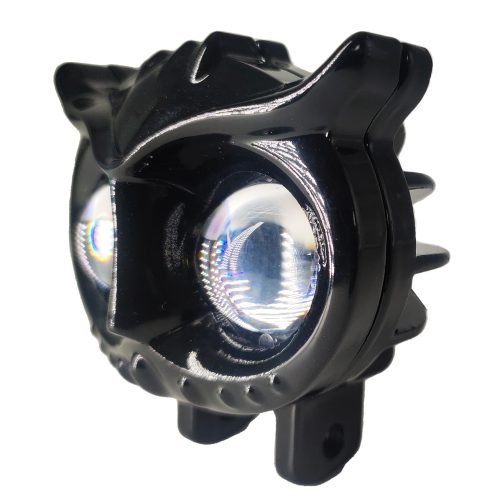
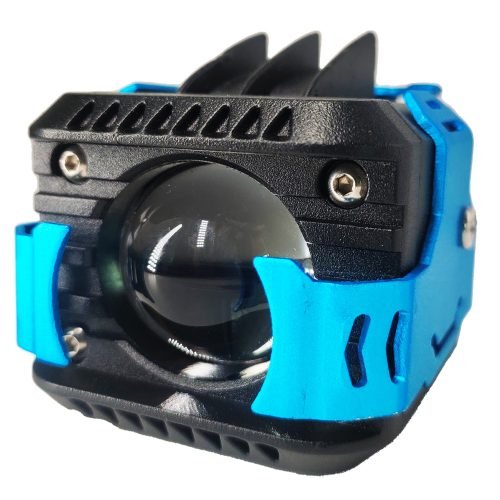
Reliable Lighting Solutions for Every Challenge
lezen lighting provides you with the best OEM/ODM service, you can easily customize your logo, package, color temperature, product appearance with low MOQ and competitive prices.
prodution line
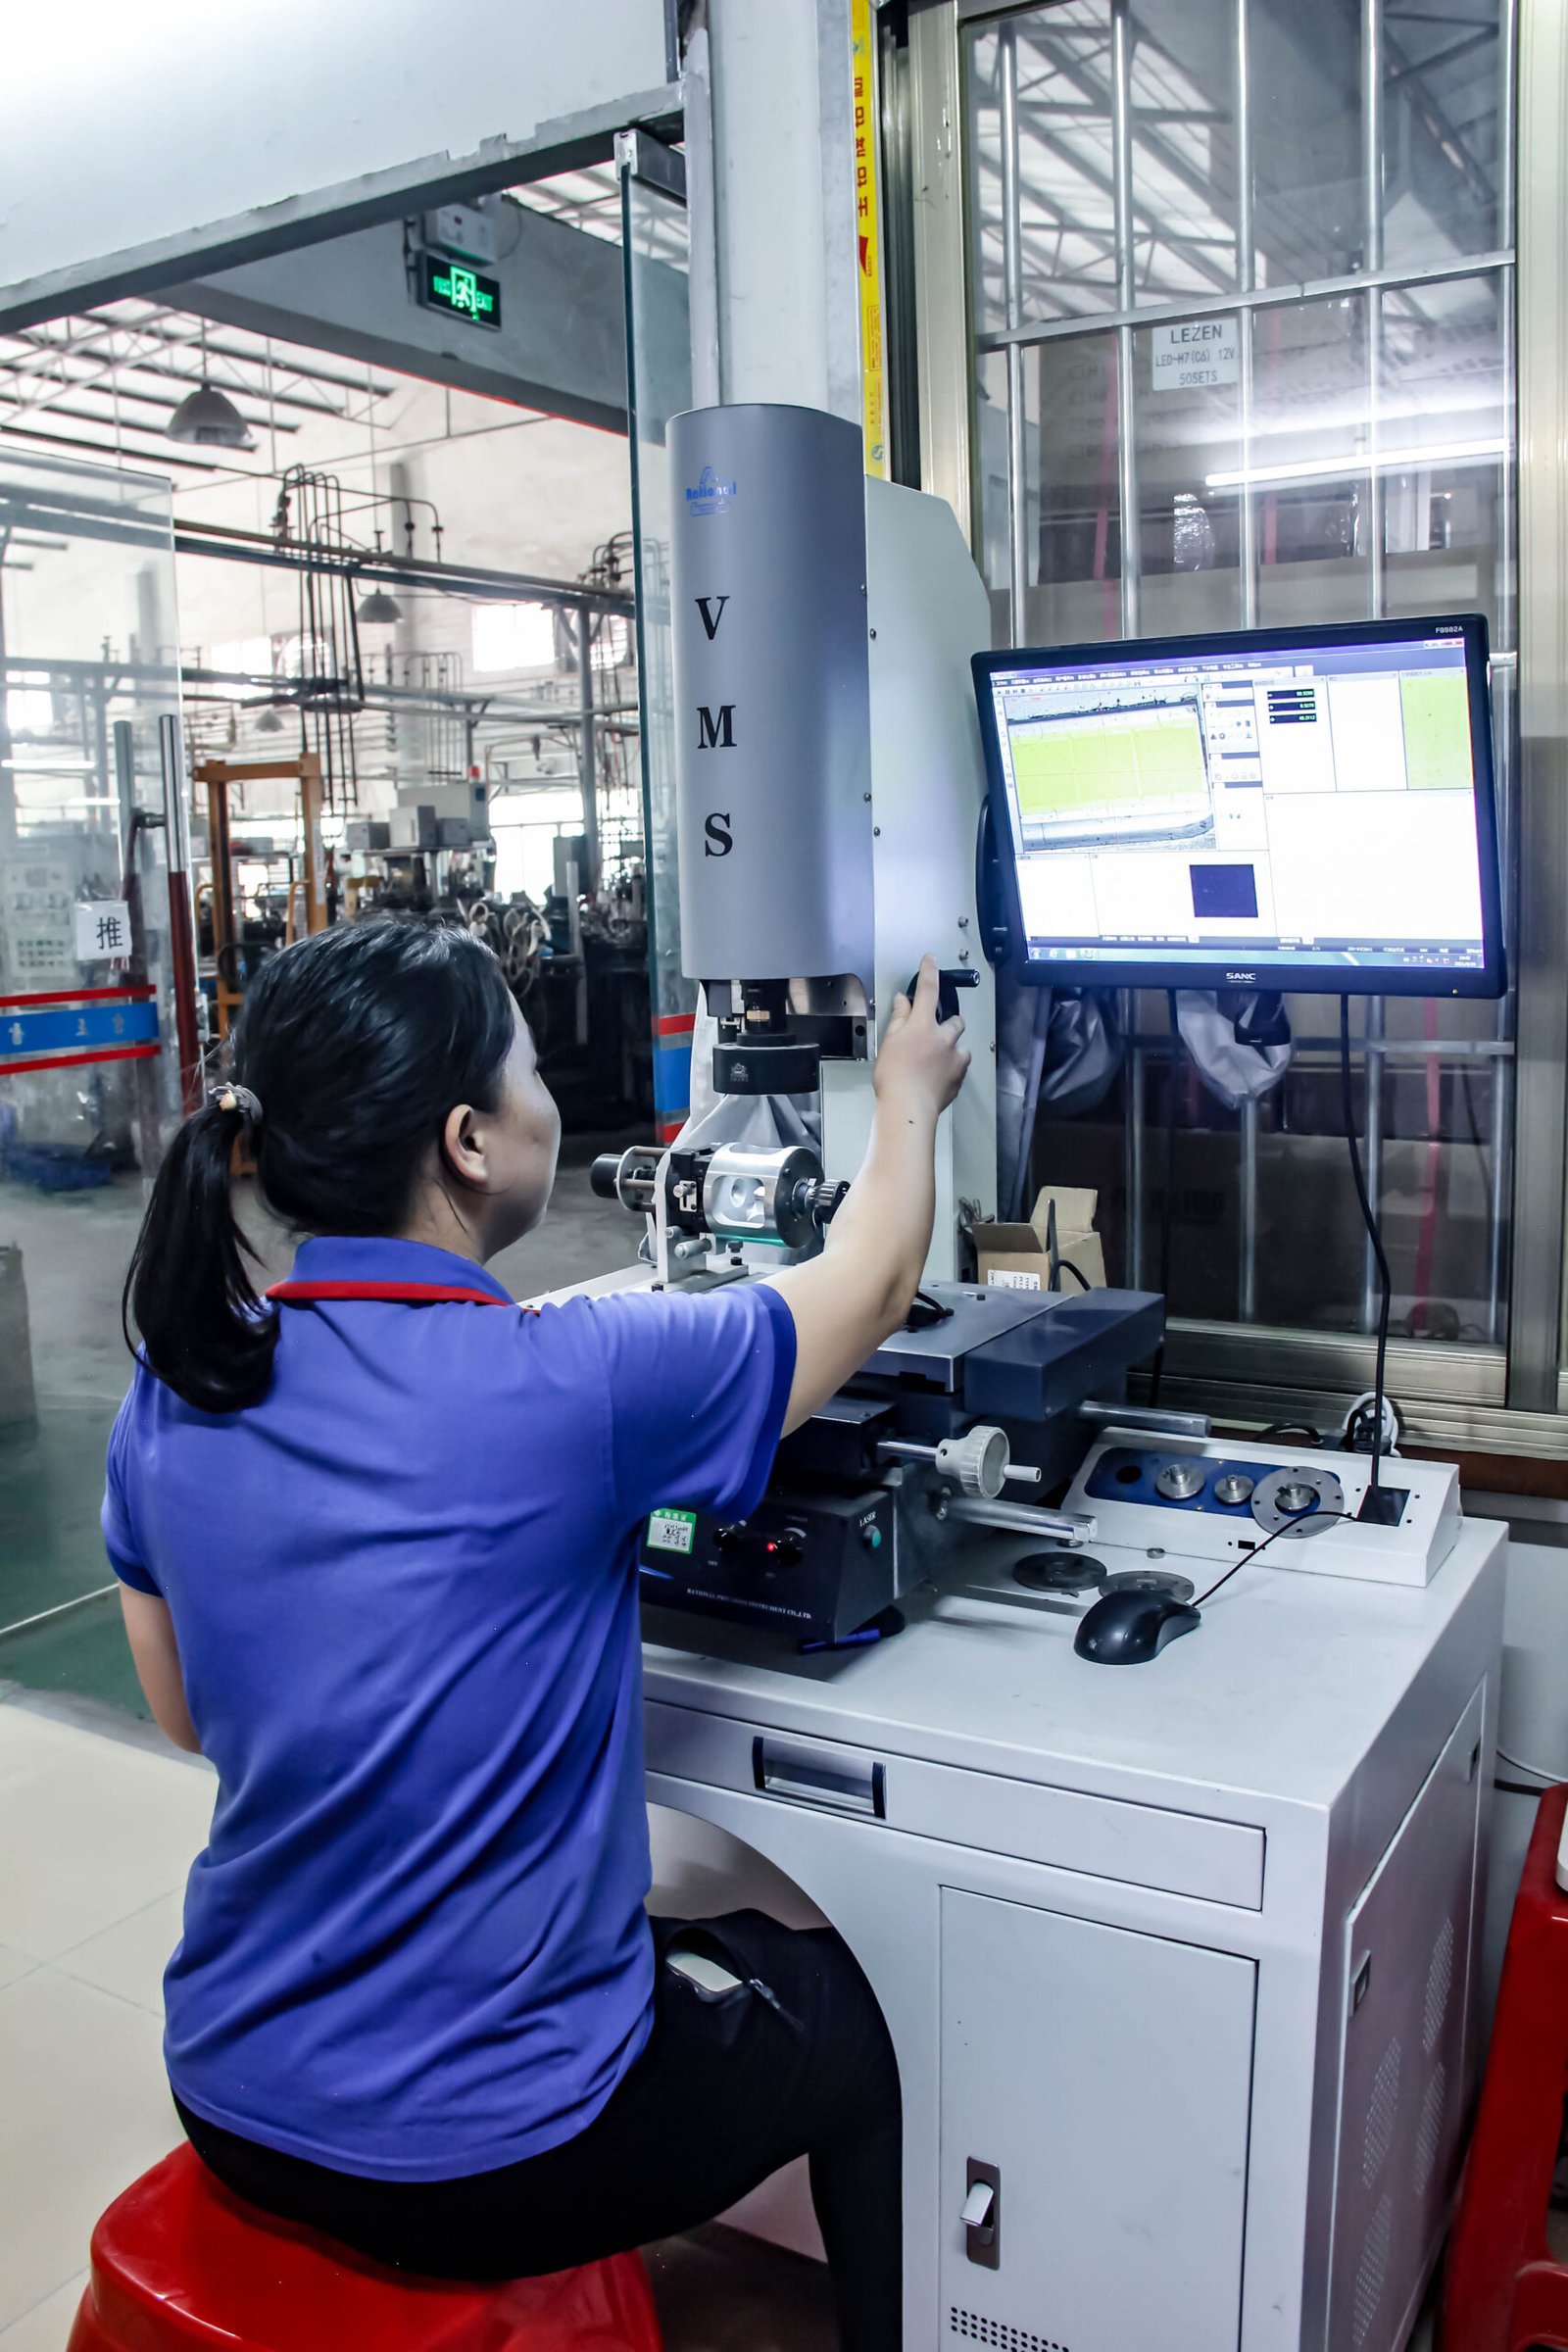
Our production and inspection processes are fully automated. This helps us to produce accurate products and improve our qualification rate. you buy our products with confidence.
Develop and optimize LED headlight bulb technology, focusing on light efficiency and heat dissipation.

Check the quality of LED chips, circuit boards, drivers, fans, and other components to ensure they are defect-free.
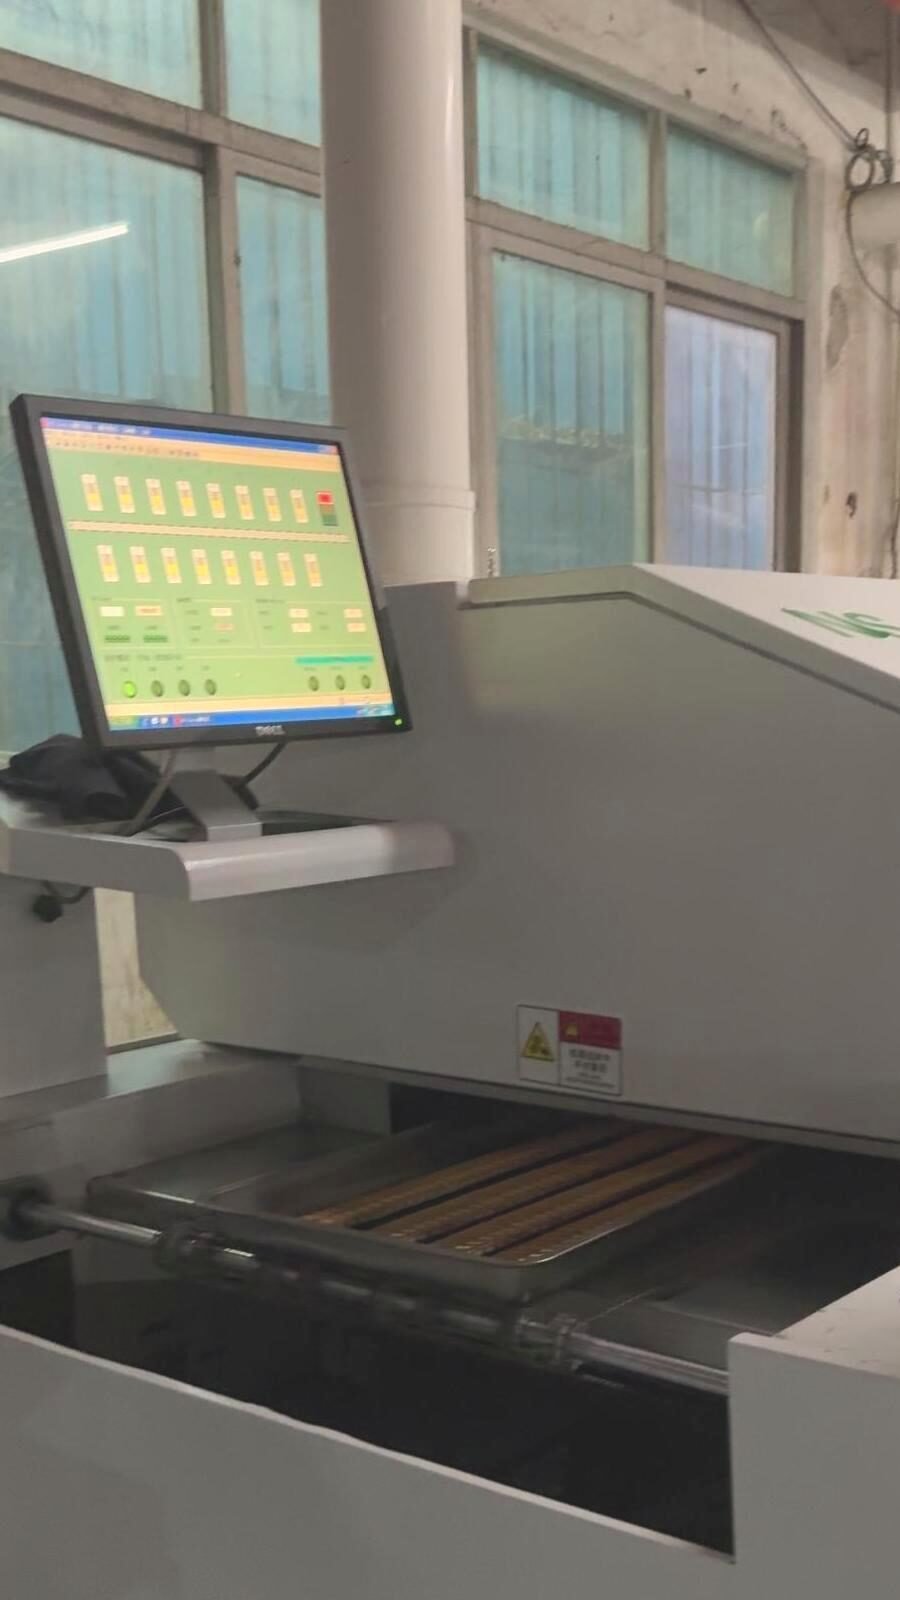
Use SMT technology to precisely mount LED chips onto the circuit board, ensuring circuit stability.

Evenly apply thermal paste to the positioning slot to enhance heat dissipation.Assemble the LED light source and secure the copper base plate for better durability and thermal conductivity.
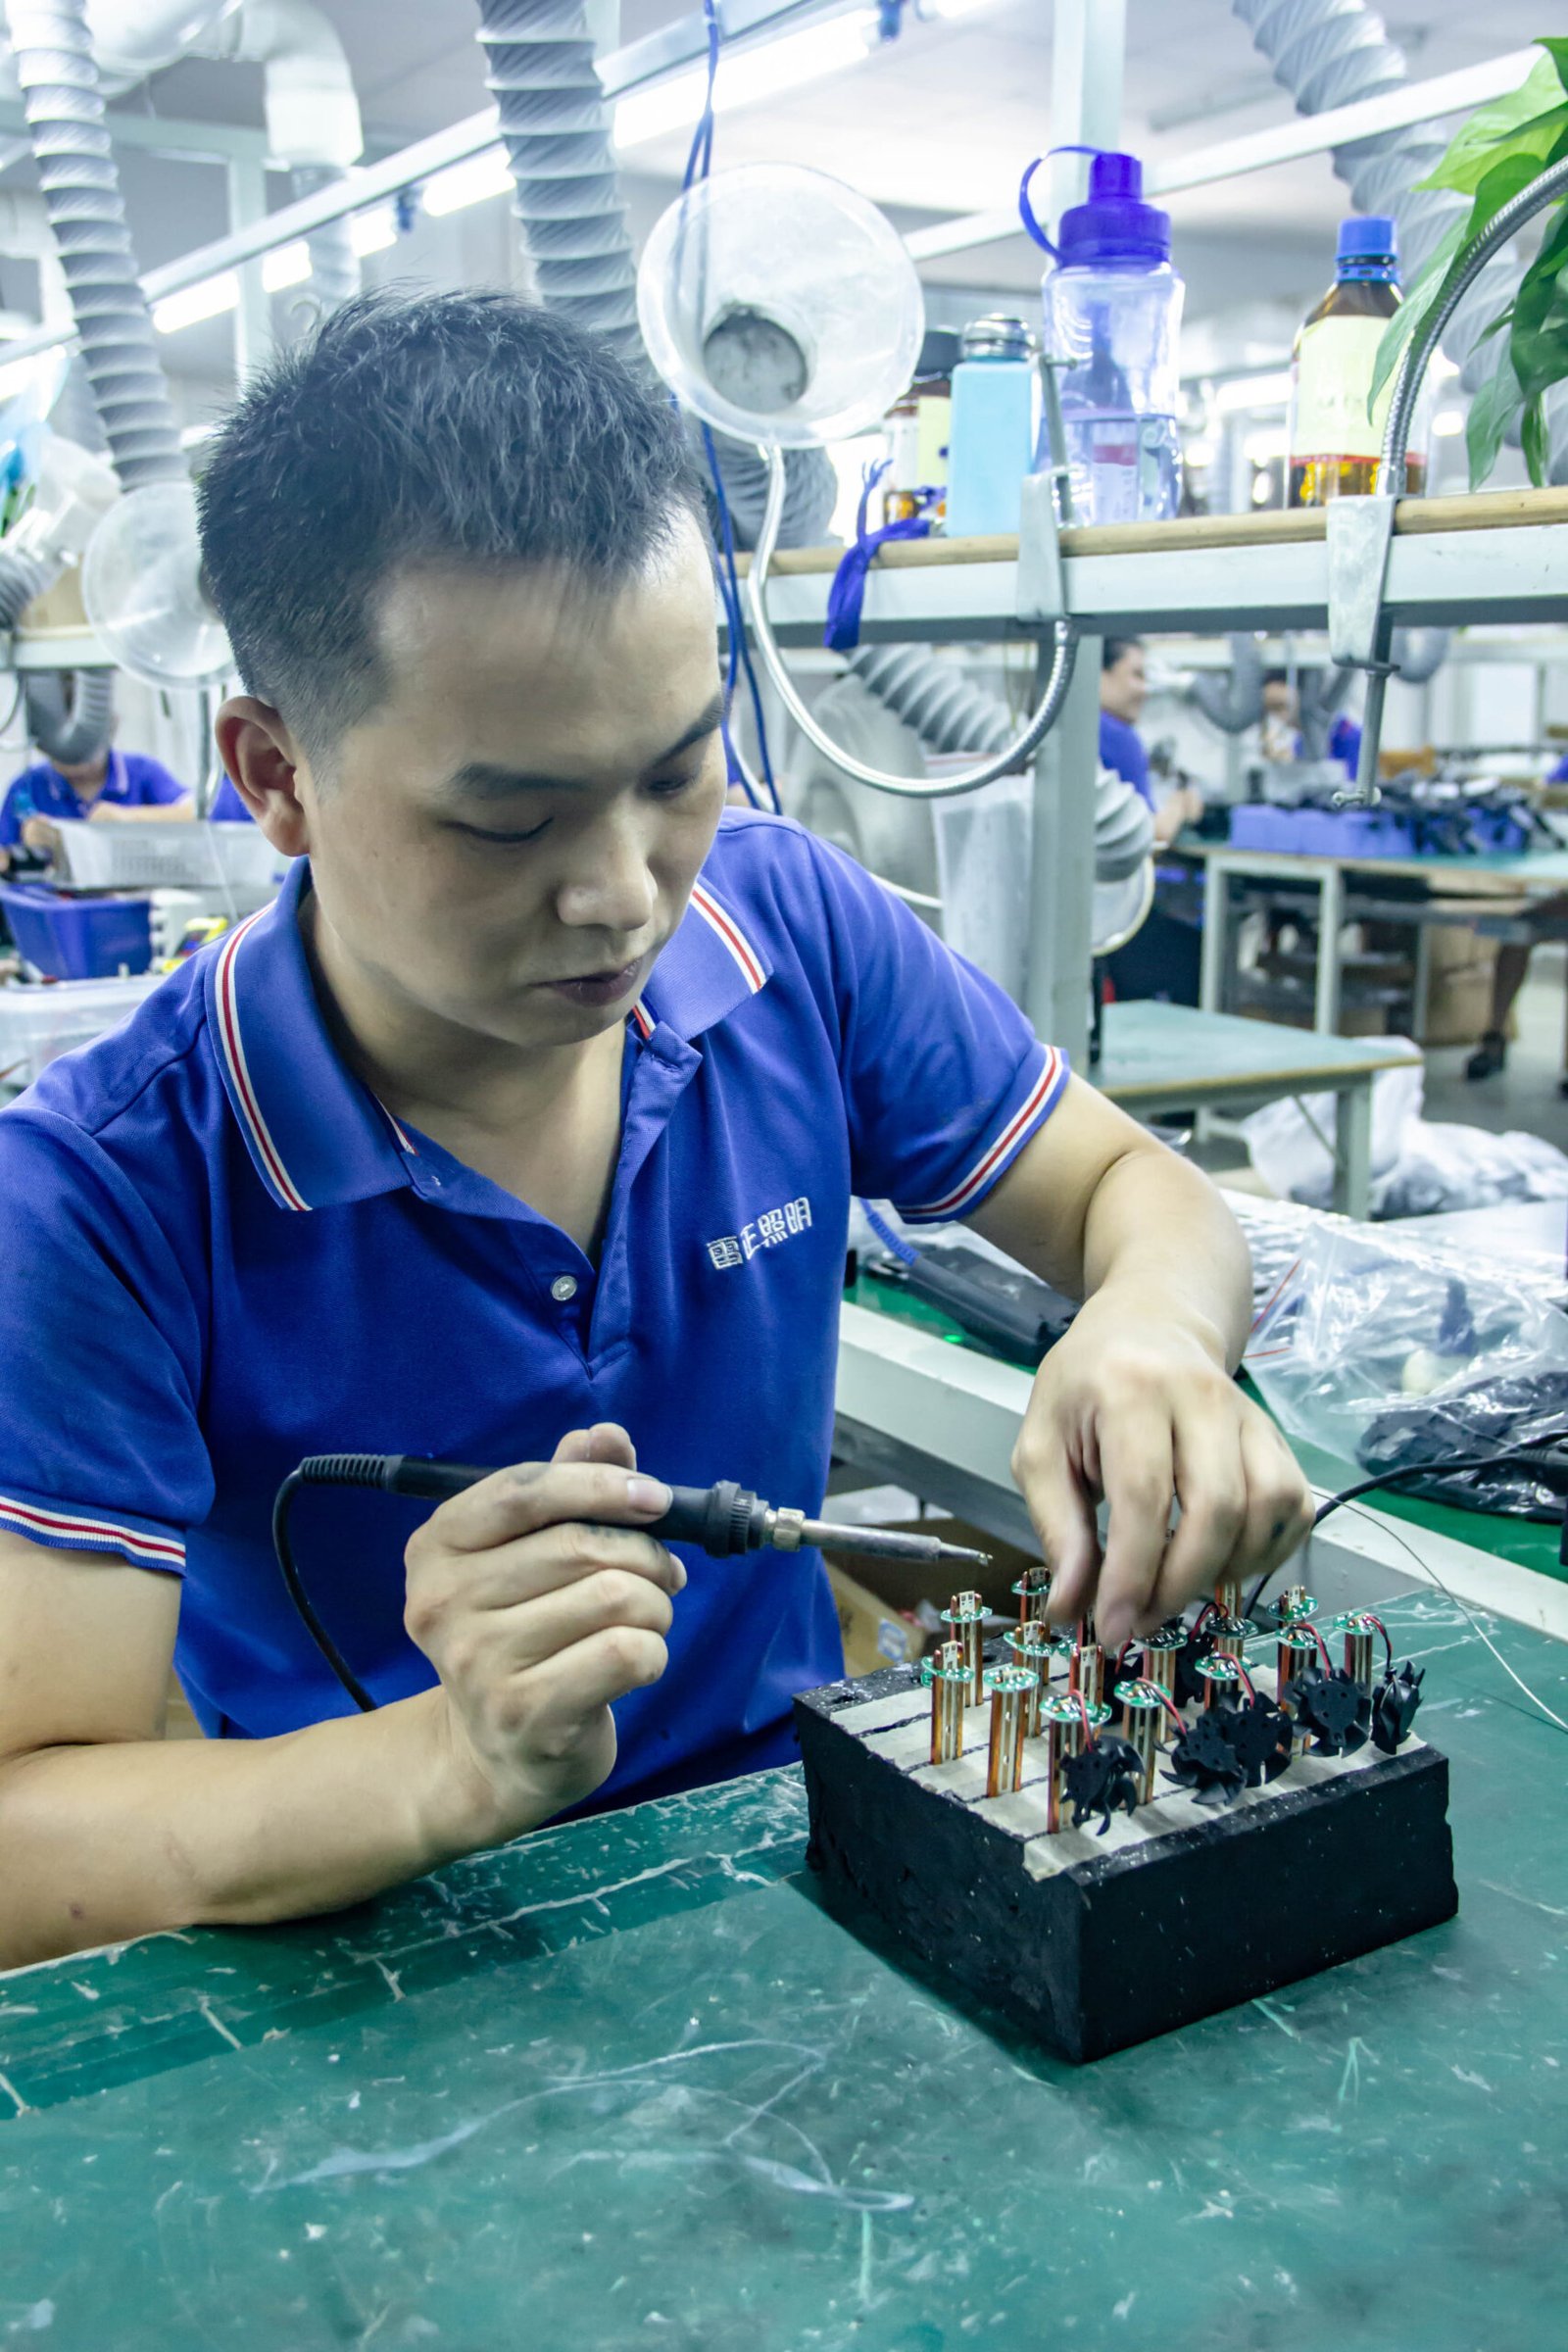
Manually solder the driver to ensure stable electrical connections.Solder and install the fan to optimize heat dissipation.
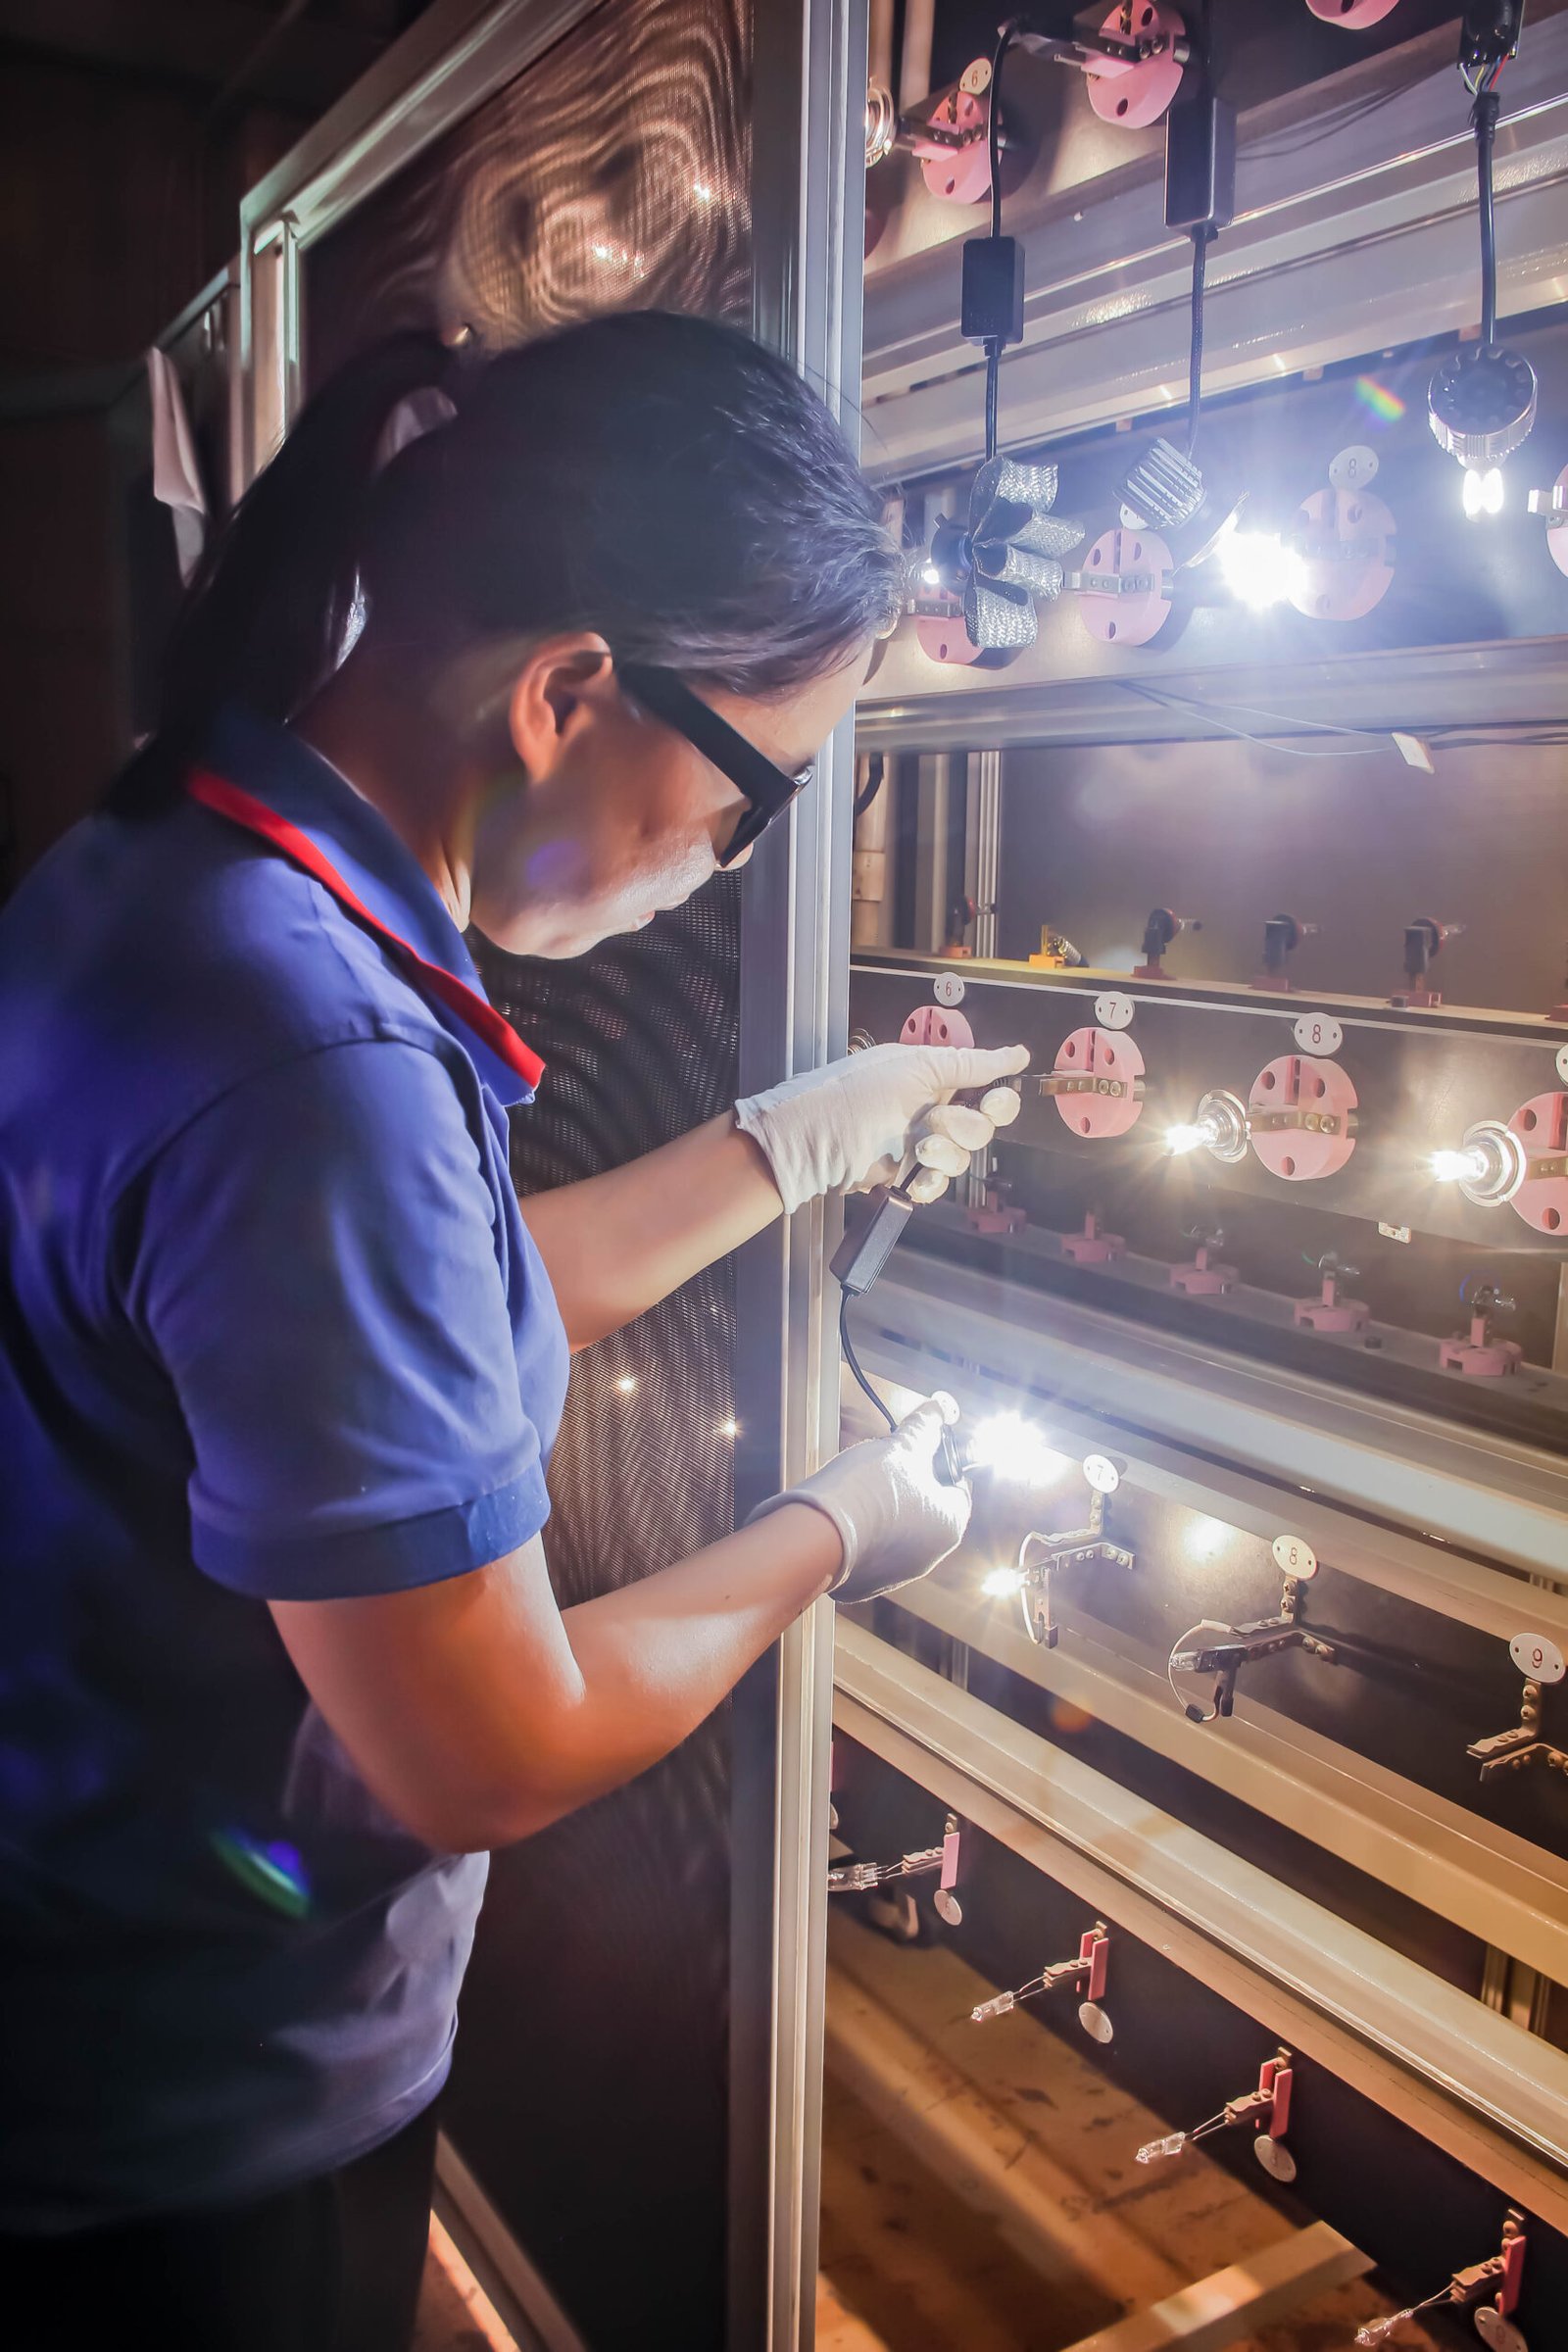
Conduct a full inspection of the LED headlight bulb to verify brightness, color accuracy, and stability.Perform a 72-hour aging test to ensure long-term reliability.
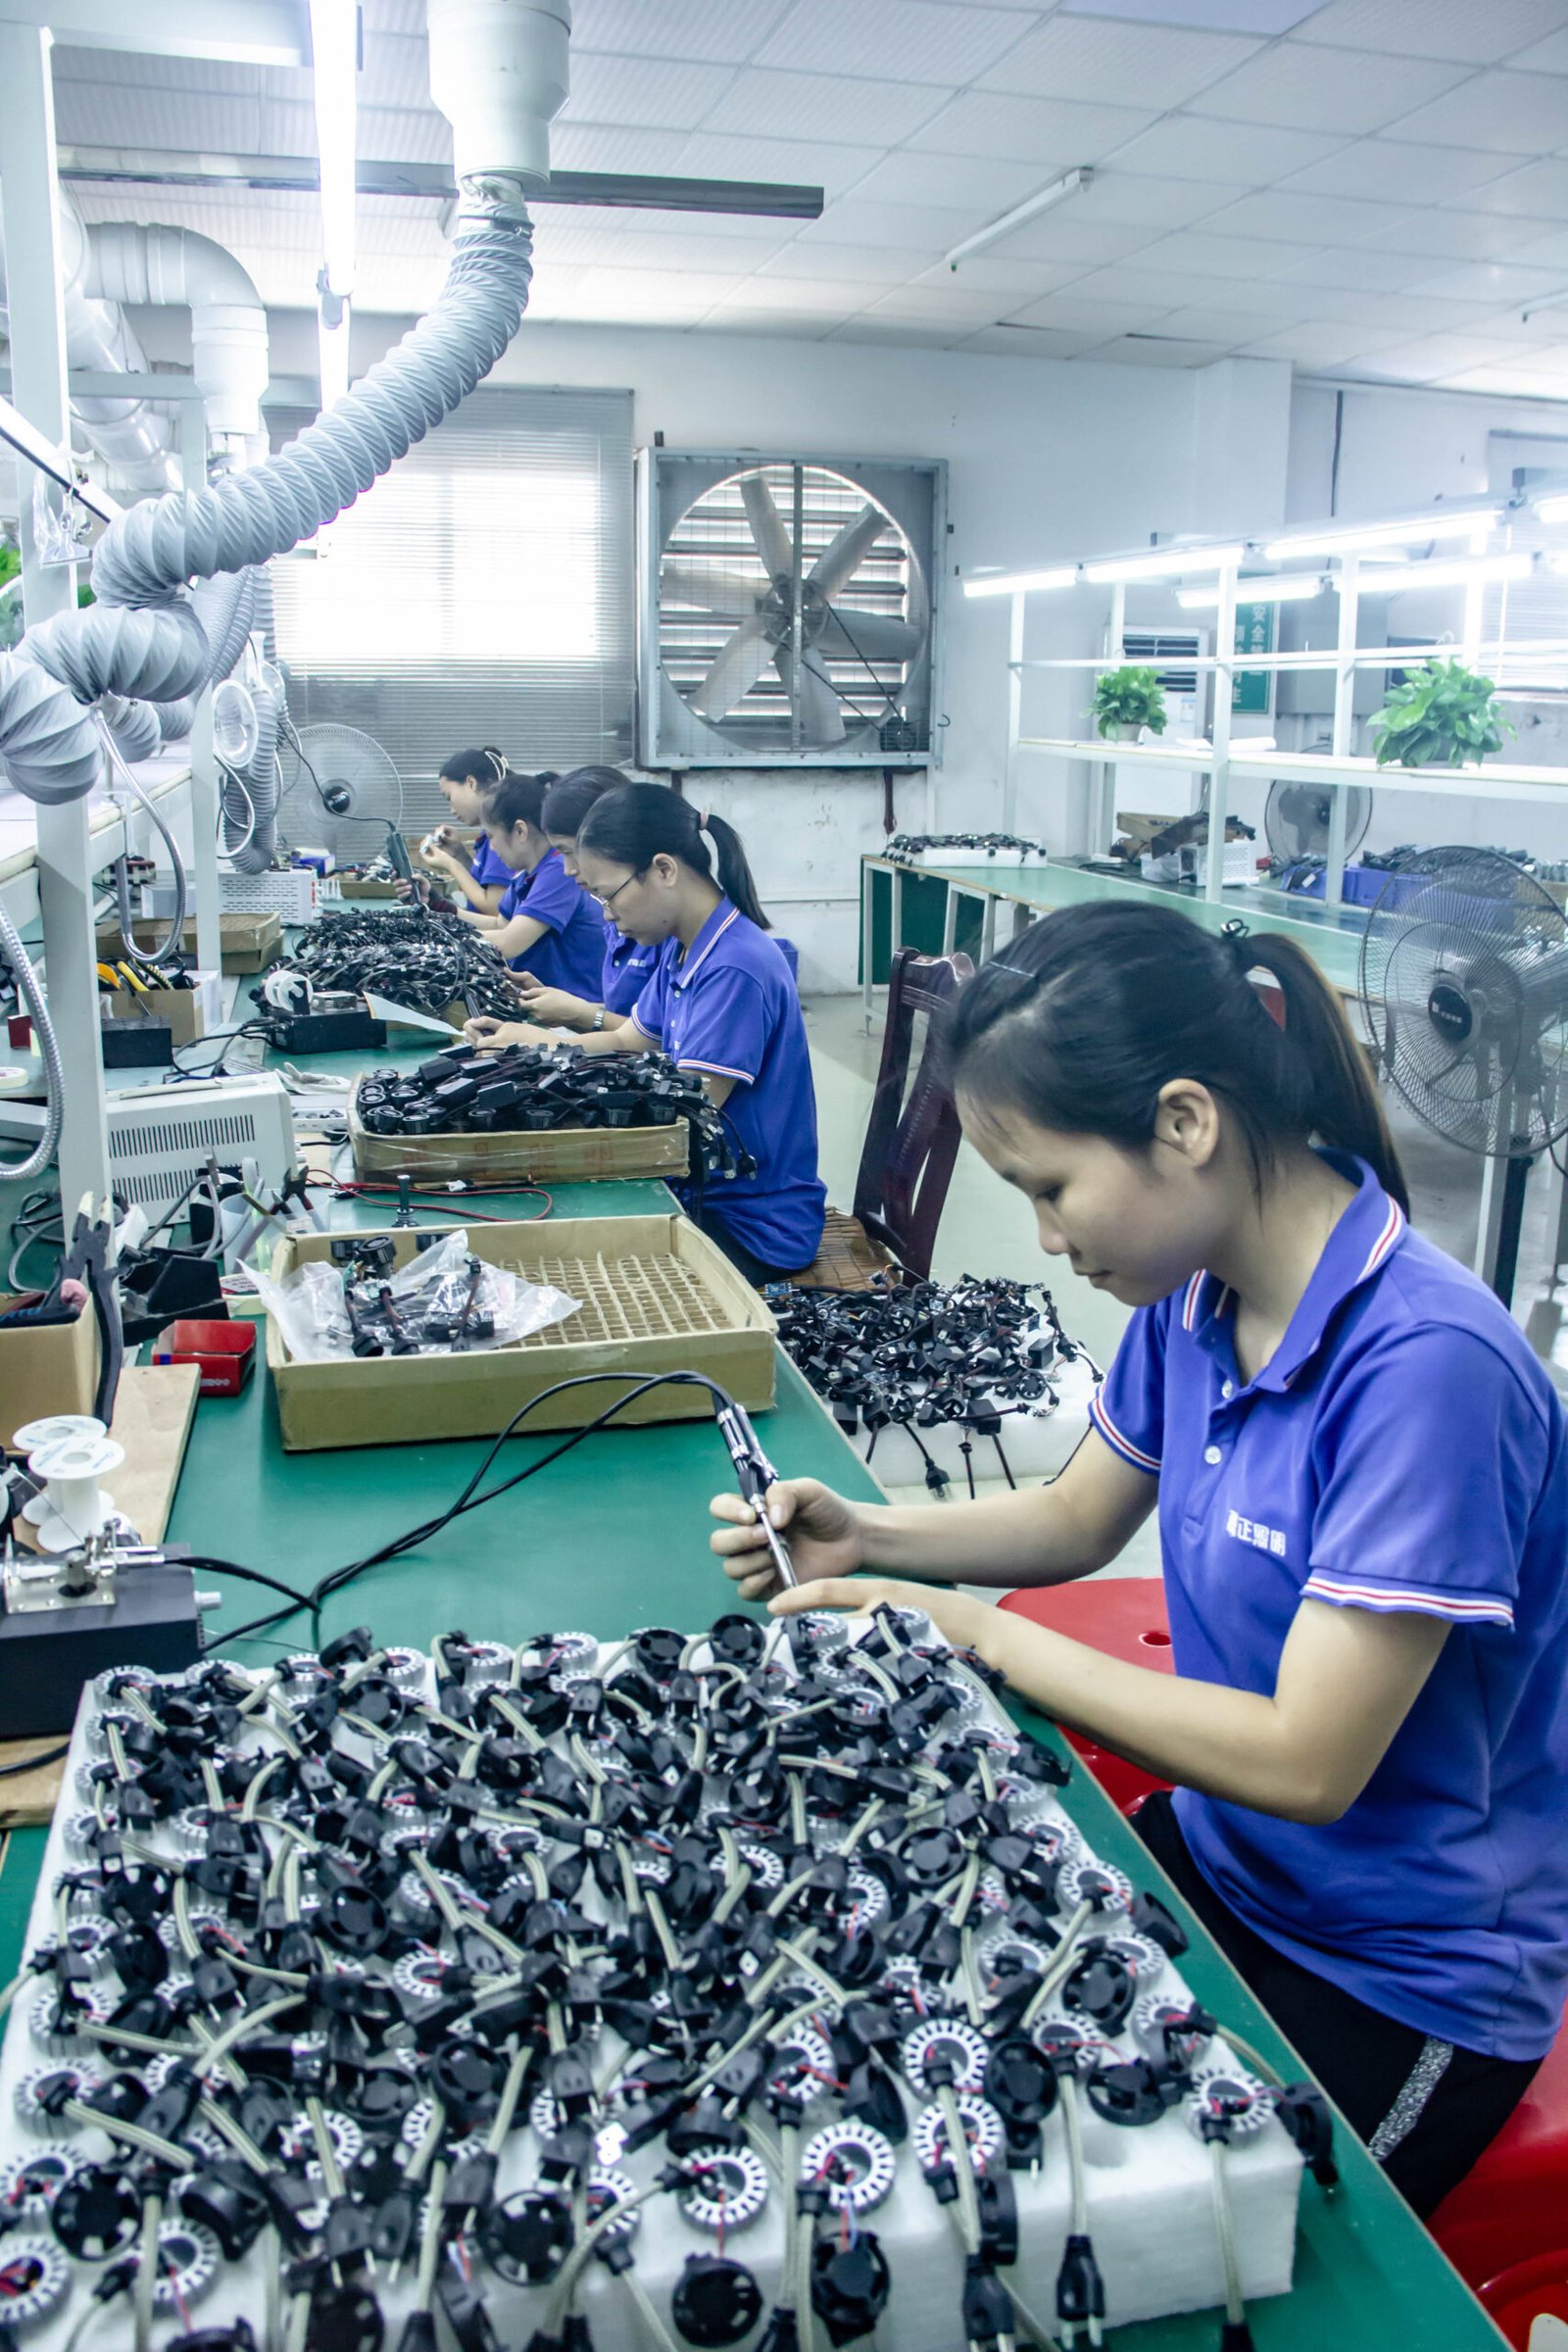
Clean the bulb surface to remove dust and residues from the manufacturing process.Use laser engraving to print the brand logo, enhancing product recognition.
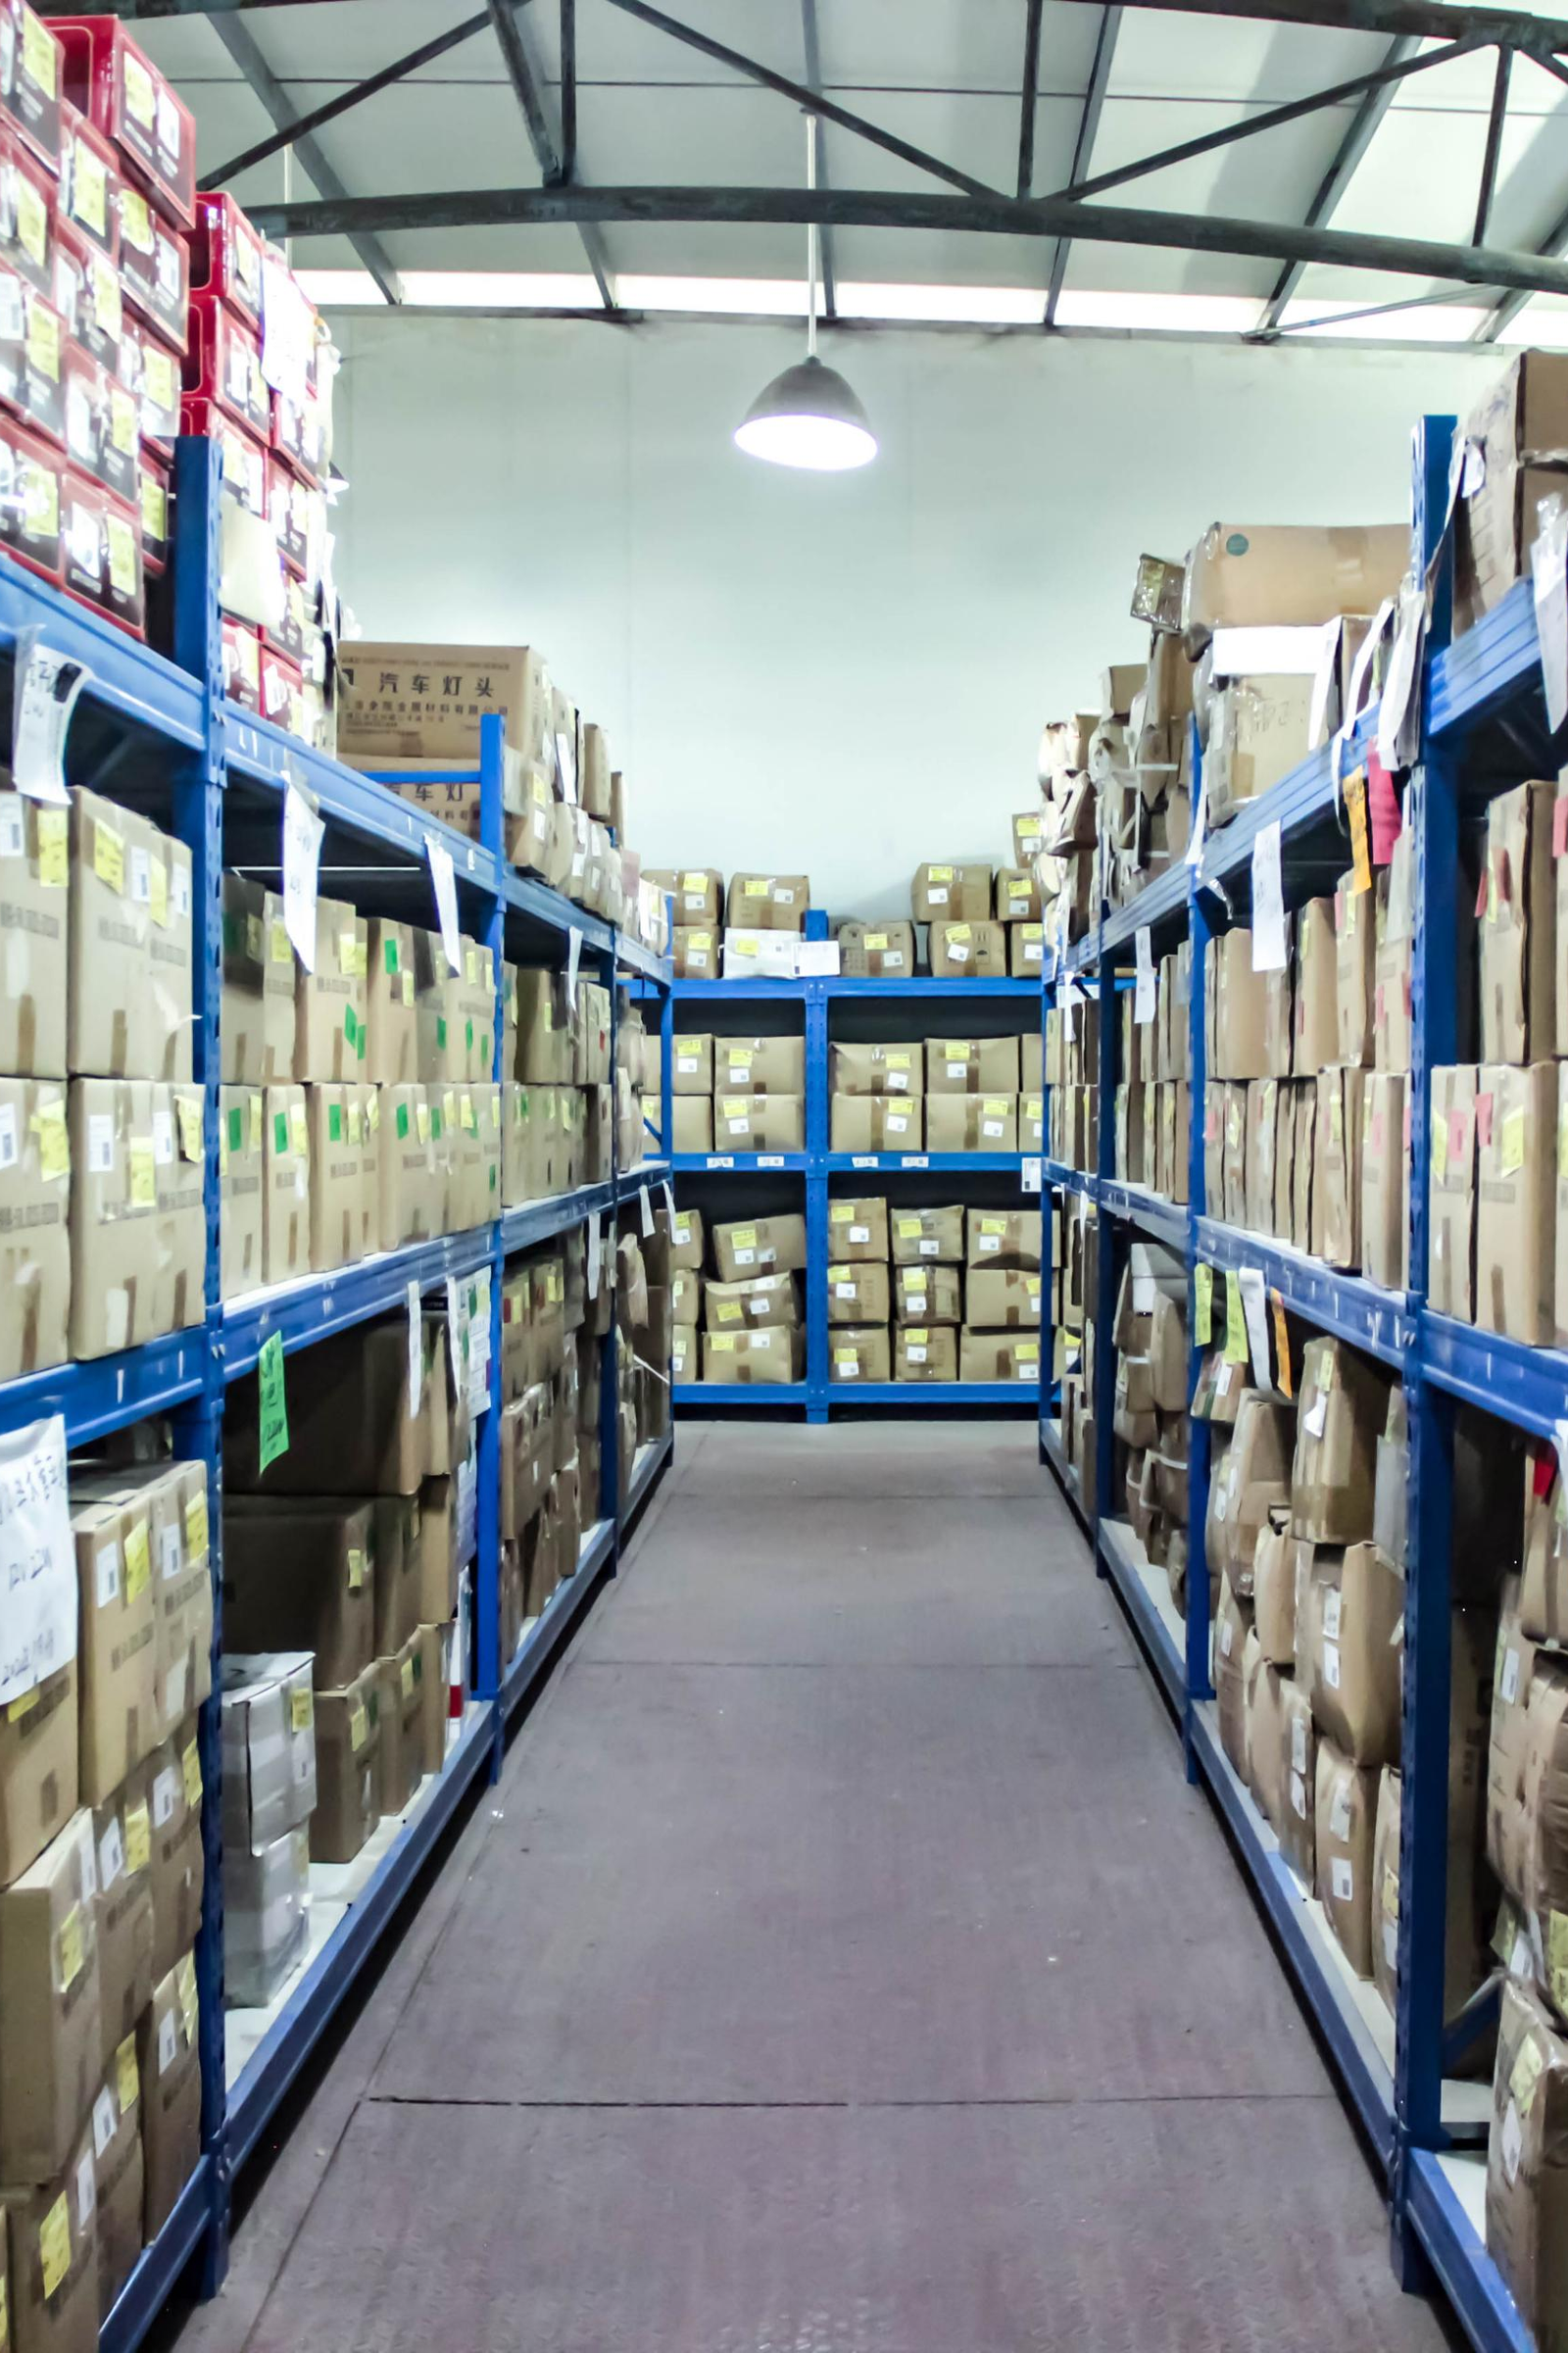
Place the bulbs into protective packaging with manuals and product certifications. Ensure secure packaging and prepare for shipment.
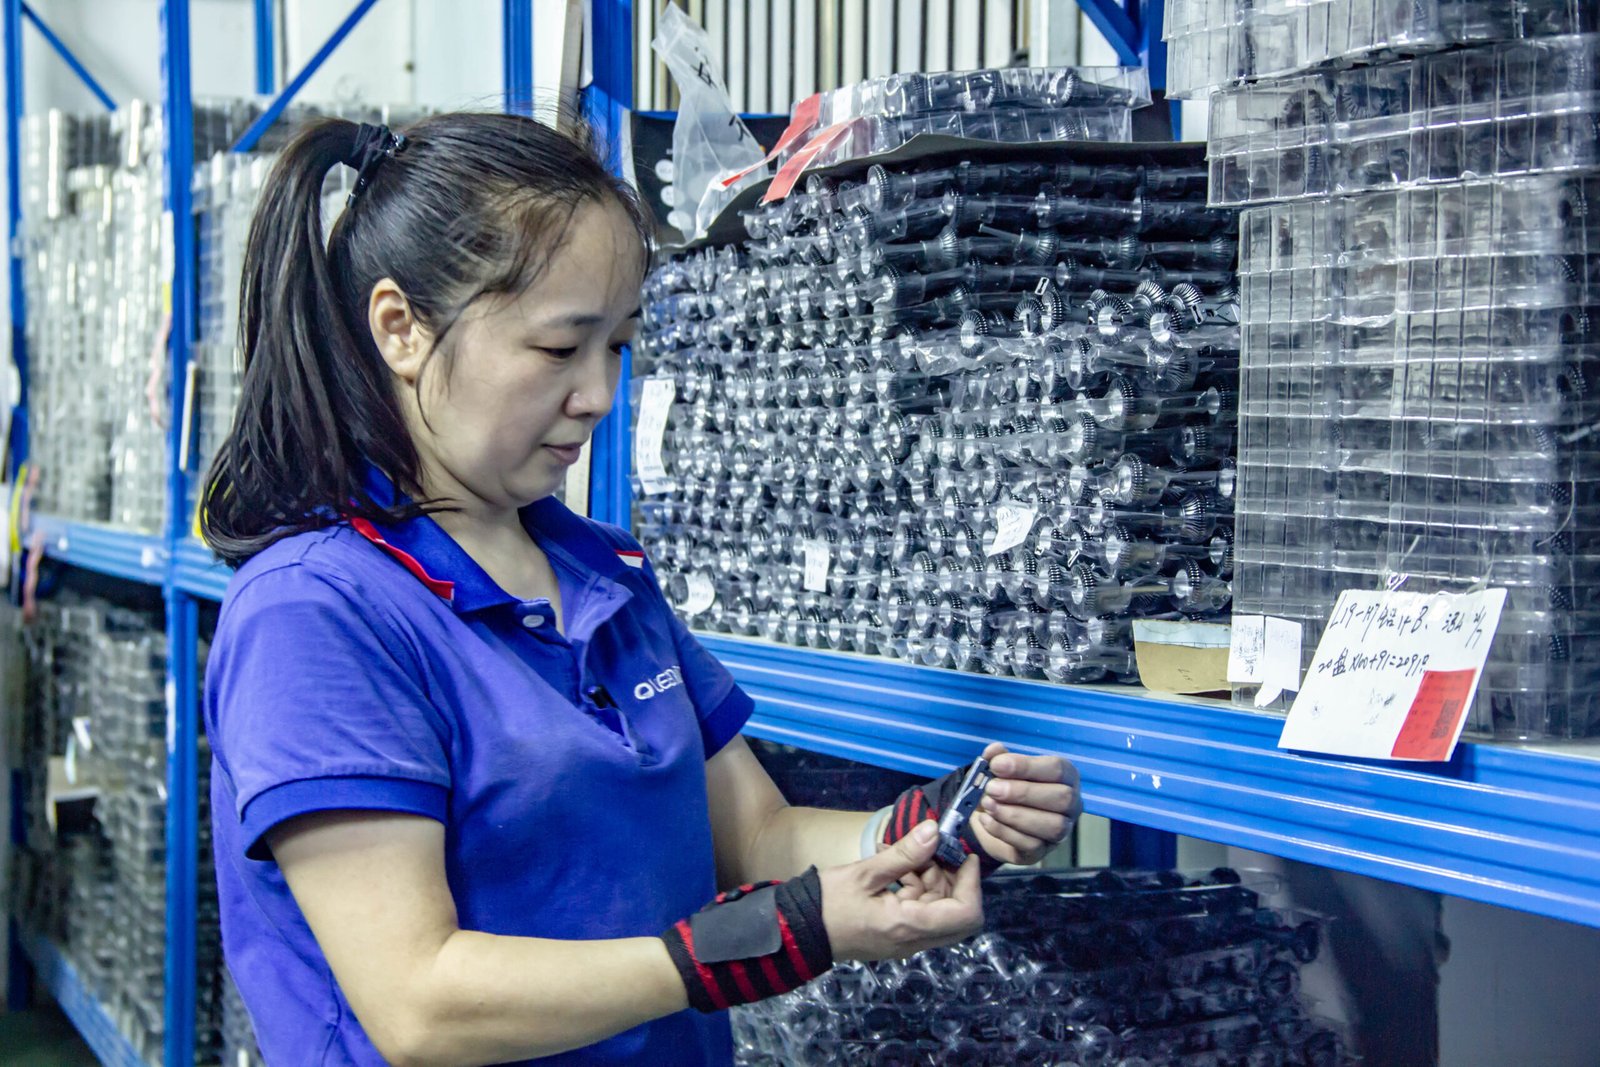
To ensure aluminum parts meet quality standards for durable and reliable LED headlights.

Testing luminous flux to ensure optimal brightness and performance of the LED headlights.

Testing for high-temperature resistance to ensure durability and reliable performance under extreme conditions.
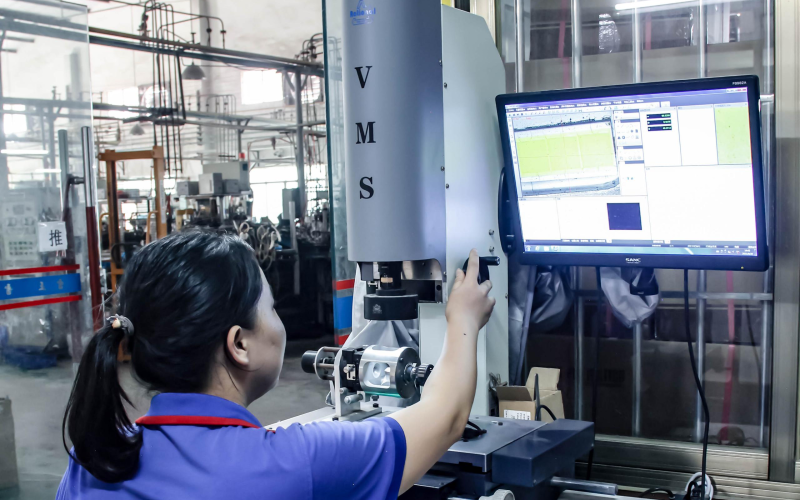
Testing for precision to ensure every detail meets the highest standards for optimal performance.
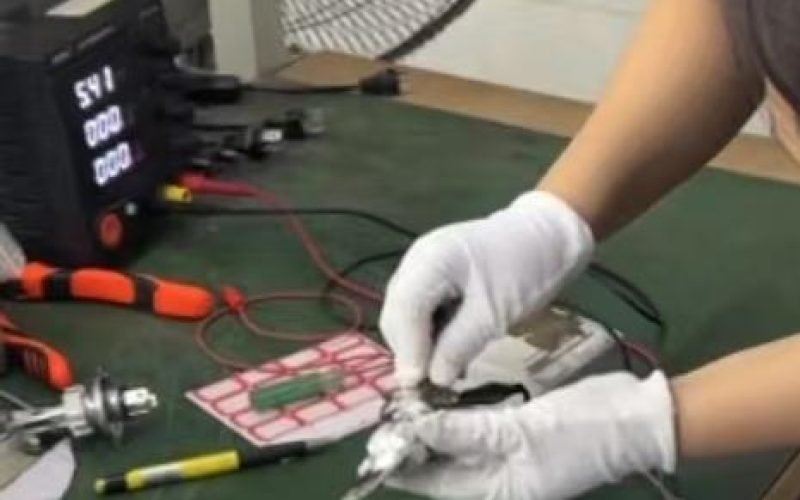
Simulating voltage to test the bulb's power and other performance metrics.
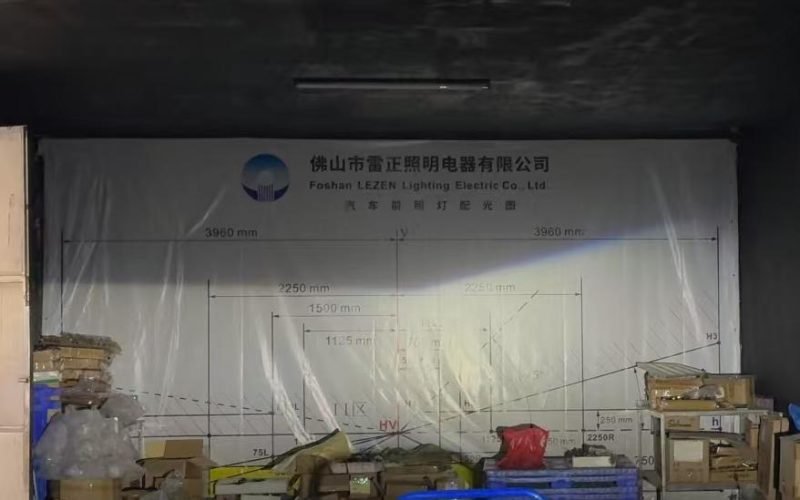
Testing the light output for optimal brightness and beam pattern.
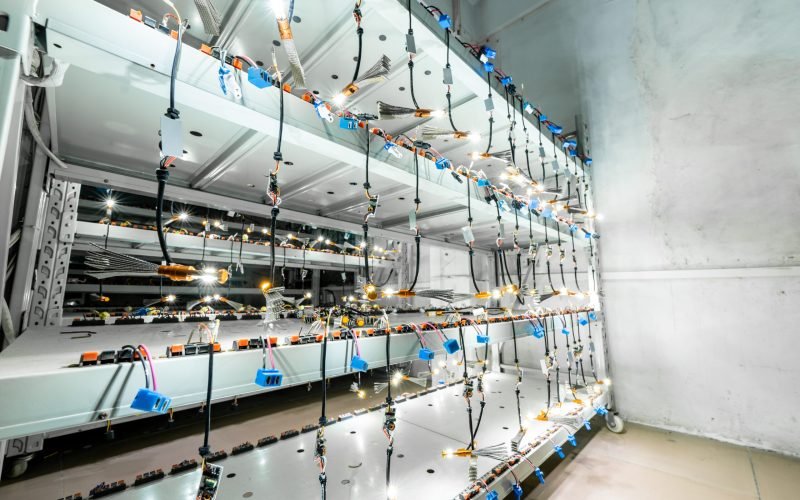
Aging Test for Bulbs to Verify Long-Term Performance and Reliability.

100+ Widgets
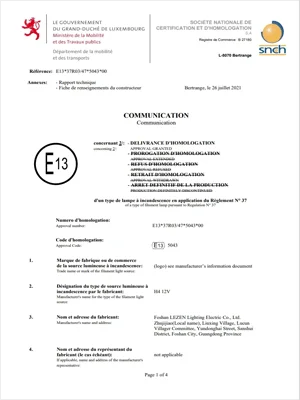
250+ Widgets
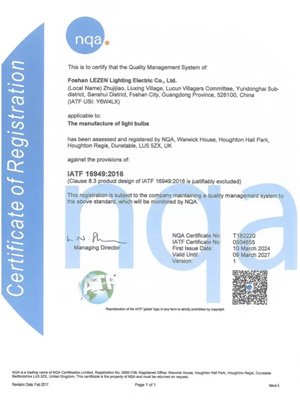
125+ Widgets
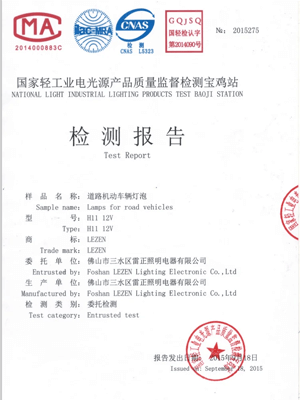
175+ Widgets
Simple guide
Adding LED auxiliary lights to your motorcycle is a great way to improve visibility and make riding in low-light conditions safer. This is especially useful if you ride at night or in bad weather. In this guide, we’ll walk you through the steps to install LED auxiliary lights on your motorcycle.
First, you need to pick the right LED auxiliary lights for your bike. There are many options out there, so think about what you need. Check the brightness, color, and beam pattern. Also, make sure the size and shape of the lights will fit your motorcycle.
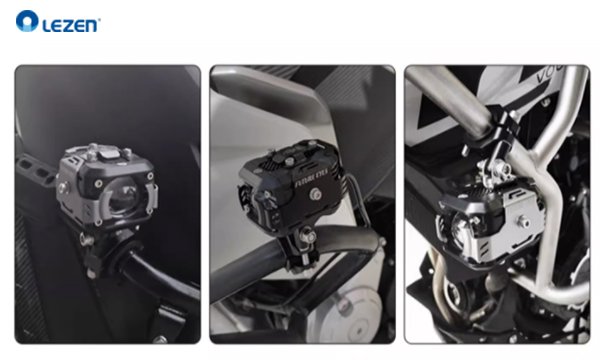
Before you start, plan where you want to place the lights. Choose a spot that gives you the best visibility and doesn’t block other lights or controls. Common places to install LED lights are on the crash bars, handlebars, or forks.
To install the lights, you’ll need some basic tools, such as a socket set, pliers, wire strippers, electrical tape, and a fuse holder. If you need to drill holes, have a drill and some drill bits ready.
The installation will depend on the lights you choose and where you place them, but here’s a general guide:
Mount the Lights: Use the correct hardware to attach the lights to your chosen spot on the moto. Test the lights to make sure they are in the right position and don’t block anything else.
Connect the Wires: Strip a small section of the insulation from the positive and negative wires on the lights. Then, connect these to the matching wires on the wiring harness. Secure the connections with electrical tape.
Route the Wires: Run the wiring from the lights to the battery or another power source. Use zip ties or other fasteners to keep the wires in place and prevent them from rubbing against anything.
Install the Fuse Holder: Attach the fuse holder to the positive wire of the wiring harness, as close to the battery as possible. This will protect your motorcycle’s electrical system in case of a short circuit.
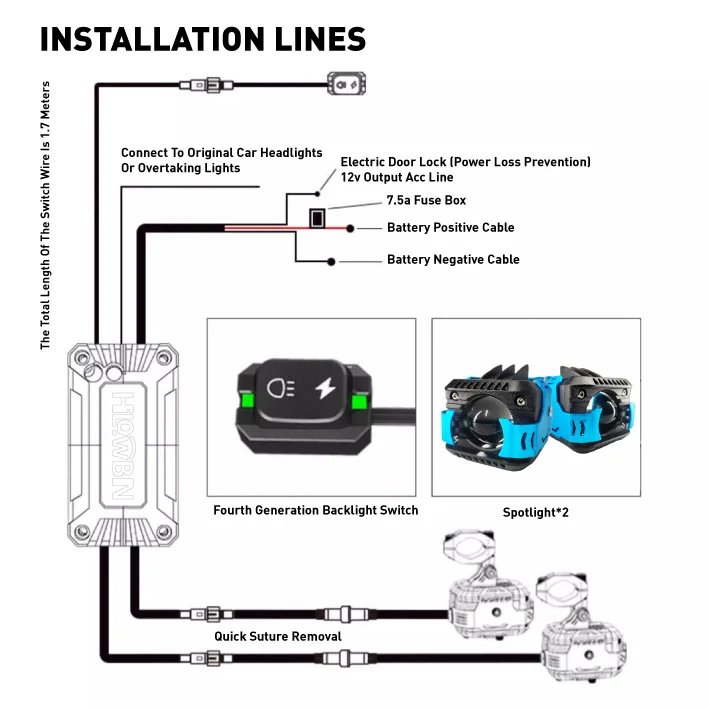
After finishing the installation, turn on your motorcycle and test the lights to make sure everything works as it should.
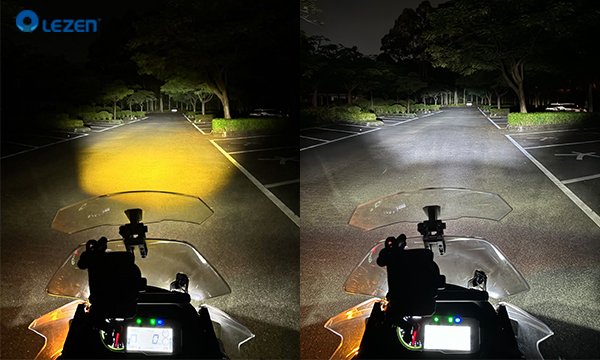
Installing LED auxiliary lights on your motorcycle is a straightforward process that can improve your safety and visibility while riding. By following these simple steps, you can easily install the lights and enjoy a safer ride.
Request Quote Now !
We will contact you within 1 working day, please pay attention to the email with the suffix “@lezen.com.cn”.

Customizable Automotive Bulbs | 14 Years of Expertise
Typically replies within minutes
Any questions related to fog light?

Sherry huang

Henry Wong

Frankie

Paul Cai
🟢 Online | Privacy policy
WhatsApp us
Before starting to use our services, please fill in the following form to let us know which type of automotive headlight you want to import from China.
Once we receive the detailed information regarding your request, your assigned customer representative will contact you shortly. He or she will assist you from planning to shipping.
If you need help, please email us at admin@lezen.com.cn.